Is your bathroom vanity antiquated or damaged? Removing it may appear to be a hard process, but with the appropriate technique and tools, you can complete it yourself. Following this tutorial will allow you to securely and effectively remove your bathroom vanity.
How to remove a bathroom vanity? Removing a bathroom vanity is a manageable DIY task with the right tools and techniques. Shut off the water supply, disconnect the plumbing, unscrew the vanity, and carefully detach it from the wall. This detailed guide ensures a safe and smooth removal process.
Now that you’ve learned the main processes, let’s go over each one in depth to ensure you’re properly prepared for this DIY project.

Table of Contents
ToggleGather the Right Tools
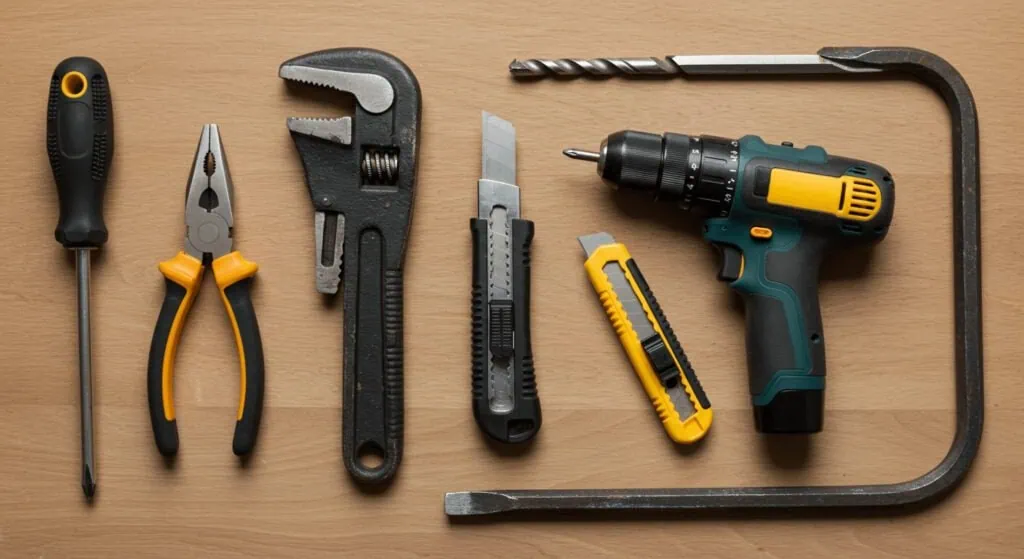
Before beginning the removal procedure, acquire the necessary instruments to make the task simpler. Removing bathroom vanity sometimes necessitates the use of specialized gear. You’ll need a screwdriver (ideally cordless for convenience), a pipe wrench, pliers, a utility knife (for cutting caulk or glue), a drill (for difficult screws), and, if necessary, a crowbar to push the vanity off the wall.
Wearing gloves and safety goggles can also help protect your hands and eyes, especially if you’re working with plumbing or sharp edges. Protective floor coverings can assist avoid harm while working. Consider putting your tools in a toolbox so you can readily reach them during the process. Don’t forget to bring a towel to collect any remaining water from the plumbing.
Shut Off the Water Supply
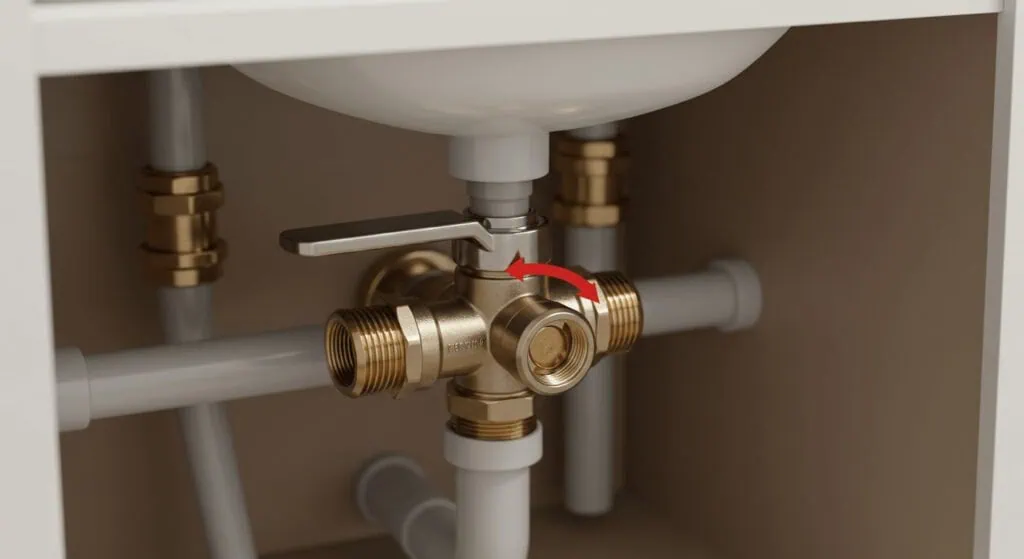
Before you start taking anything apart, the most critical step is to turn off the water. It’s easy to forget and creating an accidental flood or leak can ruin your whole week. Go to your main water shut-off (in your house, usually near the water meter) and turn off the water. Or, if you have isolated shut-off valves under the vanity, use those.
With the water turned off, go ahead and open the faucets to drain the remaining water from the pipes and the sink. This prevents water from spilling everywhere when you disconnect the plumbing, making it a less messy job. If your vanity has separate hot and cold water lines under the sink, be sure to turn off both valves. Then recheck that there’s no standing water anywhere before you proceed.
Disconnect the Plumbing Connections
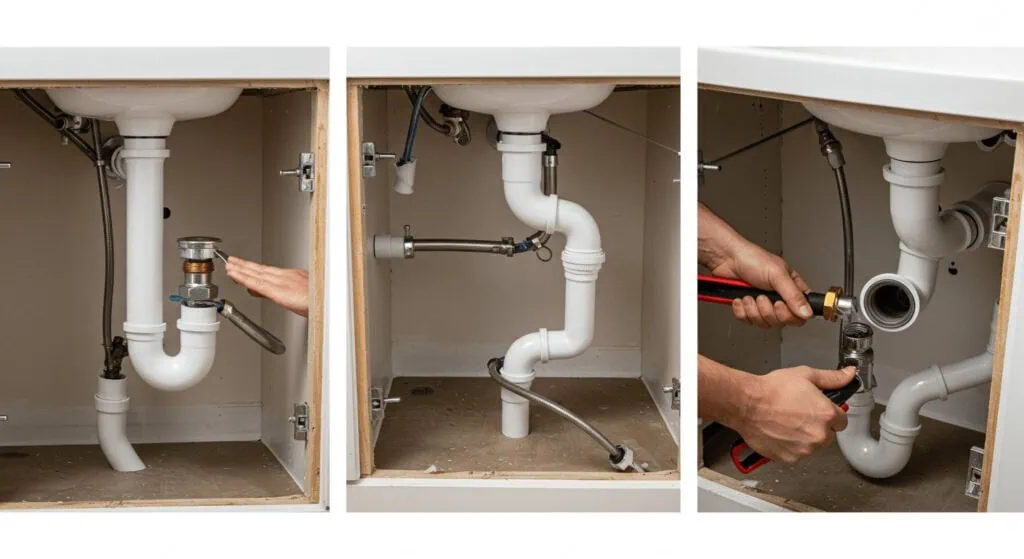
Once you have turned off the water, the next step is to disconnect the plumbing that ties your vanity to the rest of the bathroom. Take a pipe wrench or an adjustable wrench and loosen the nuts that hold the water supply lines to the sink faucet. Don’t forget to have a towel underneath or a small bucket to catch what little water is still inside the pipes.
Once the water supply lines are disconnected, you will move on to the drain pipe. Carefully unscrew it, and if necessary use a basin wrench to reach into tight places. Take your time here, so you don’t accidentally damage the pipes.
If you’re dealing with vanity sink pipes, be sure everything is disconnected and separated well. While you’re down there, give everything a double-check for leaks too.
Remove the Mirror and Any Accessories
Before you get started removing the actual vanity, take off any accessories or add-ons such as LED mirrors, shelving, or towel racks. Let me show you how to take a mirror off the wall. Some mirrors are glued to the wall or screwed on, while others are simply applied with adhesives. If it’s screwed in, you can use a screwdriver to take the screws out. If it’s just applied, you can gently use a putty knife or utility knife to gently pry it off the wall.
Once the mirror is removed, get the lights and any other accessories out of the way on the front side of the vanity. It will make getting the vanity out a lot easier, and you will reduce the risk of damaging any of your accessories. Just be careful with mirrors or glass items so you don’t break them. If you have a larger, heavier mirror, you may want to have a helper to help you get it down without damaging it.

Unscrew the Vanity from the Wall
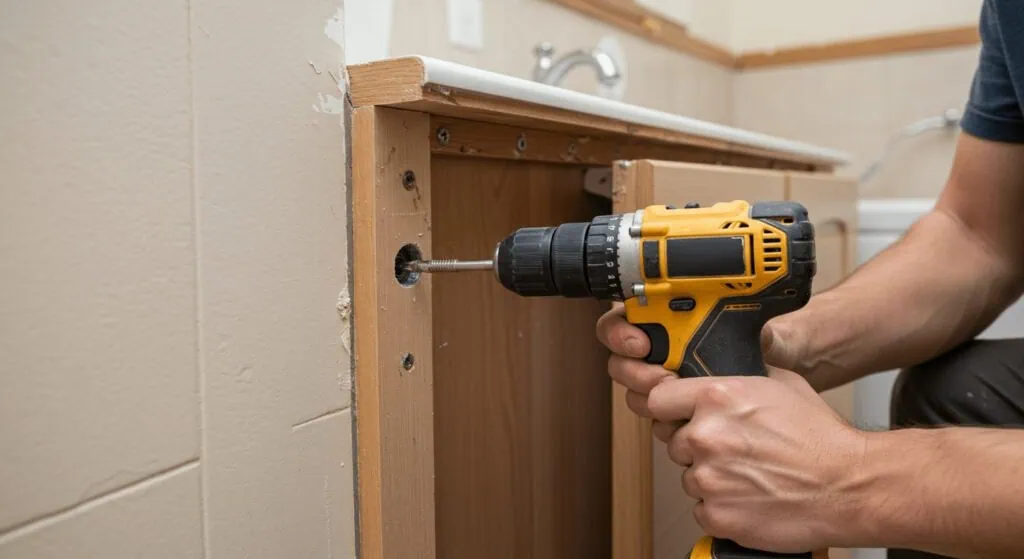
Once you have everything disconnected plumbing-wise and with your accessories, you are ready to go. You need to unscrew the vanity from the wall. You will need to locate the screws going through the backside and into the wall. Sometimes, depending on how the install was done, the screws will be behind the trim or caulk. You can use a power drill with a screwdriver bit to remove these screws. If you can’t get to the screws and you can’t see them, you might have some trim or caulk you need to pry off with a crowbar or flathead screwdriver.
If you have a wall-mounted vanity, you’ll want to unscrew everything very carefully. You don’t want to tear up your drywall when you pull the screws out. If you run into screws that are stripped or stuck, apply a little penetrating oil to help loosen them. If you’ve got some adhesive holding it as well, you may need to use a heat gun to help you out.
Carefully Detach the Vanity from the Wall
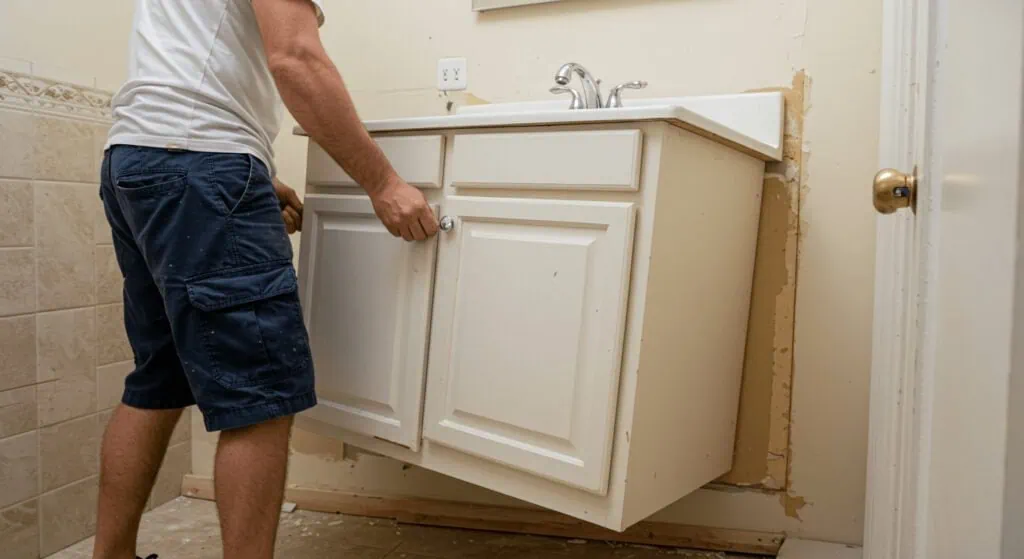
Once you have everything unscrewed, you’ll pull the vanity off the wall. If it’s caught and stuck because of some caulk or adhesive that you might not have seen before, you might need to use your utility knife to gently cut it free. Just be very careful as you do this not to damage the wall or the floor.
In some cases, if you have a huge or heavy vanity, you’re going to have to get a helper. Be careful you don’t strain yourself when lifting heavy items. If it was glued down, it might take a little doing to break the seal. Normally, running your utility knife carefully along where it’s sealed will cut it loose. Be careful, and don’t pry too hard. You don’t want to start damaging more stuff.
Dispose of the Old Vanity
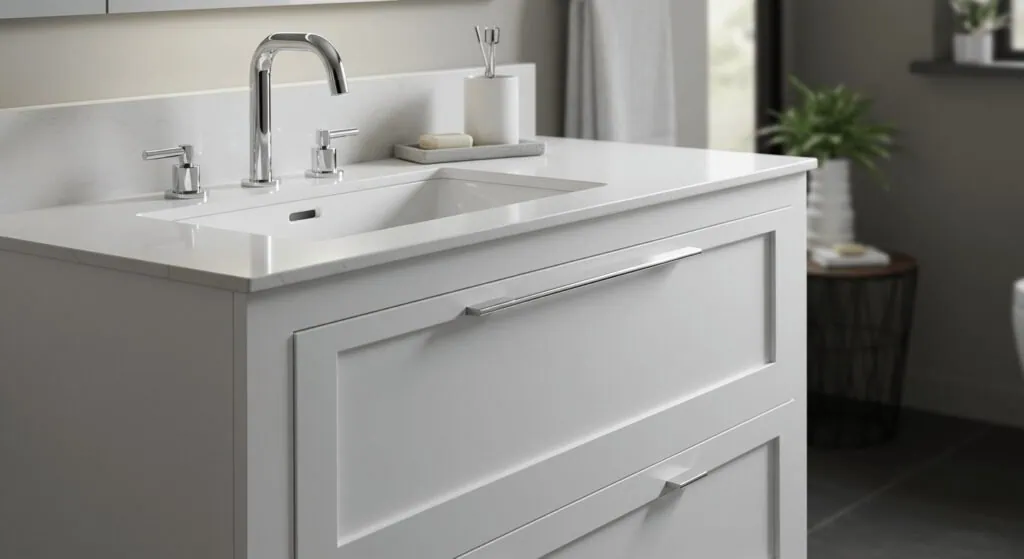
Once the vanity has been removed, it is time to dispose of it. You may consider giving the vanity if it is still useful. However, if it is severely damaged, you must dispose of it appropriately. Many hardware stores and home improvement centers provide rubbish removal services for bulky furniture.
Alternatively, you can hire a professional junk removal service. Or take it to the local dump and pay the fee to get rid of it. Just make sure you dispose of it properly according to local waste rules. If you have a sink or other parts that are still good, consider reusing or recycling them for a future project. Donating the vanity is a good answer if it’s still in good shape.
Common Issues and Troubleshooting
During the removal of a bathroom vanity, you may encounter several complications. One typical issue is stripped screws or fasteners that would not move. In this scenario, a penetrating lubricant can aid in loosening the screws. Another concern is that vanities are excessively caulked or glued to the wall. In some circumstances, a utility knife or heat gun might help weaken the glue, making it easier to remove.
If you’re dealing with sophisticated plumbing, electrical wiring, or fittings, it’s better to hire a specialist. To guarantee safety, electrical components attached to the vanity, such as lights, may require the services of an electrician. If you’ve never worked with plumbing or electrical before, getting expert assistance might save you time and stress.

How to Prepare the Space for a New Vanity?
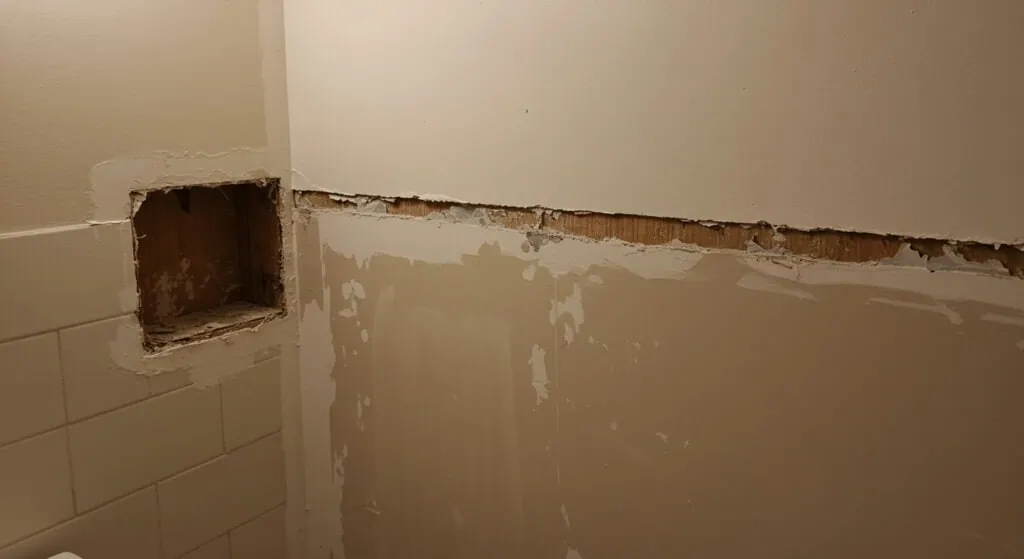
Once the old vanity is out of the way, take time to prep the area for your new installation. This is super important because a clean, smooth surface will make installing your new vanity much easier. Also, you need to look at the existing pipes and the wall behind the vanity for any damage. Any issues with the plumbing should be addressed at this point.
Look around the walls for any holes or cracks that need to be patched up. There may be a need to clean up or touch the floor up if you had a large vanity that left any stains or marks. If there was any adhesive used to attach the old vanity, carefully scrape off any remaining adhesive without damaging the wall. Also if you’re putting in a new bathroom vanity, now is the time to double and triple check that the new vanity size is going to match up with your existing space. Take accurate measurements because you don’t want any surprises during the installation.
How Long Does It Take to Remove a Bathroom Vanity?
The overall time required to remove a bathroom vanity is determined by a number of factors, including the vanity’s size, the quality of the plumbing, and whether the vanity is attached to the wall. On average, it will take 3 to 6 hours to eliminate the vanities. This includes the time spent unscrewing fasteners, disconnecting pipes, and removing tenacious glue.
If you run into any challenges, like damaged plumbing or screws that don’t want to come out, it might take you a little bit longer. Should you be removing a bathroom vanity that has more elaborate features, such as a vanity sink or electrical wiring, obviously that’s going to take you longer and you need to use extra caution. If you’re dealing with a larger vanity or more complicated plumbing connections, you might need to set more time aside.
Can I Remove a Bathroom Vanity Myself?
If you’re the type of person who loves doing stuff yourself and you have a pretty good understanding of at least the basics of plumbing and electrical work, then you can absolutely do this yourself. However, if you’re not sure about working with water and you’re not sure about working with electricity, it’s probably best to consult a professional and not take any unnecessary risks.
Those with experience can do the process in a few hours. If you are confused about any step of the procedure, do not hesitate to contact a plumber or electrician for help. Remember that your safety comes first. Hiring a professional increases the expense of vanity removal, but it assures that the work is completed securely and correctly.
Conclusion
Removing a bathroom vanity is not that big of a deal, provided you have the right tools and a little bit of patience. Whether you’re updating your space or replacing a vanity that was damaged, if you follow these detailed instructions, it will make your life a lot easier. Take your time. Follow the directions. Don’t be afraid to call a professional if you get stuck.


